In Admincontrol you have two options for adding personal notes. You can use the Annotation tool to add comments or mark text on specific pages in the document, or you can use the Notebook feature to have your notes on a separate page.
Annotation tool
The annotation tool enables you to quickly add comments, free-hand notes and highlight, under strike or strikeout text as you read the document. The annotations that you create are by default only visible to you even if other users have access to the same document. Should there be a need to share the annotations with other users you can choose to do so later. For a detailed guide on how to share your annotations follow this guide.
Please note that it is only possible to create annotations on PDF-documents.
How to access the annotation tool
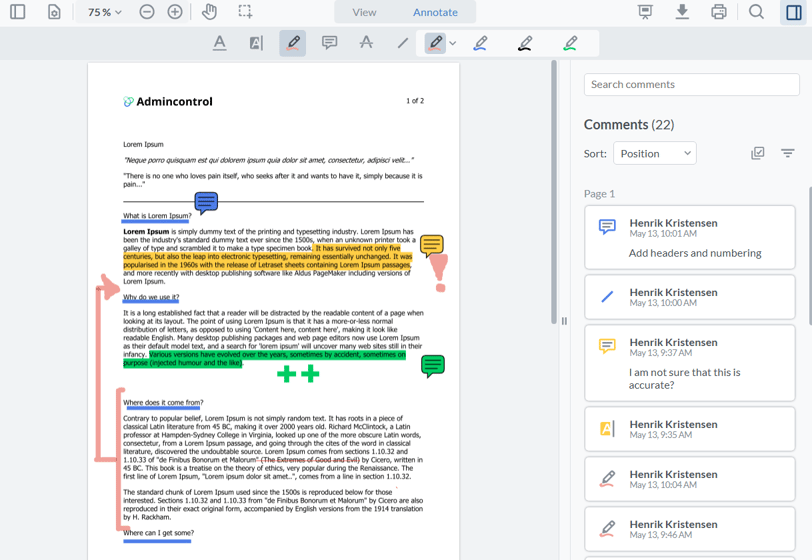
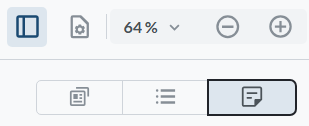
To access the annotation tool, open a PDF document and select the Annotate option in the document viewer toolbar.
![]()
If you are missing the Annotate option, it is most likely due to the document being in another format i.e. Word or PowerPoint.
Creating annotations

There are six different options for adding annotations in the document viewer:
Underline ![]() , Highlight
, Highlight ![]() , Free Hand
, Free Hand ![]() , Note
, Note ![]() , Strikeout
, Strikeout ![]() and Line
and Line ![]() .
.
Select the appropriate tool and add the annotations as you like. It is possible to change colors on the annotations which will be remembered the next time you utilize the same tool.
Saving annotations
Your annotations will be saved automatically, with one exception. Notes that you create will have to be saved manually before you close the document. Any unsaved notes can be identified in the comment overview as they will be visualized with an exclamation mark. Press Save before you close the documents to make sure that you do not lose the annotation you have created.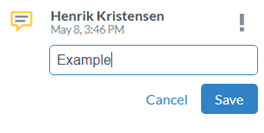
Once all annotations are saved, they will also be available on your tablet/mobile device the next time you perform a synchronization.
Stay organized
To quickly get an overview of all annotations that you have made you can access the full overview of all the annotations that you have made, you can access the comments panel, located in the top right corner of the document viewer. Here all your annotations will be listed, and you can easily access, sort, filter and edit them from here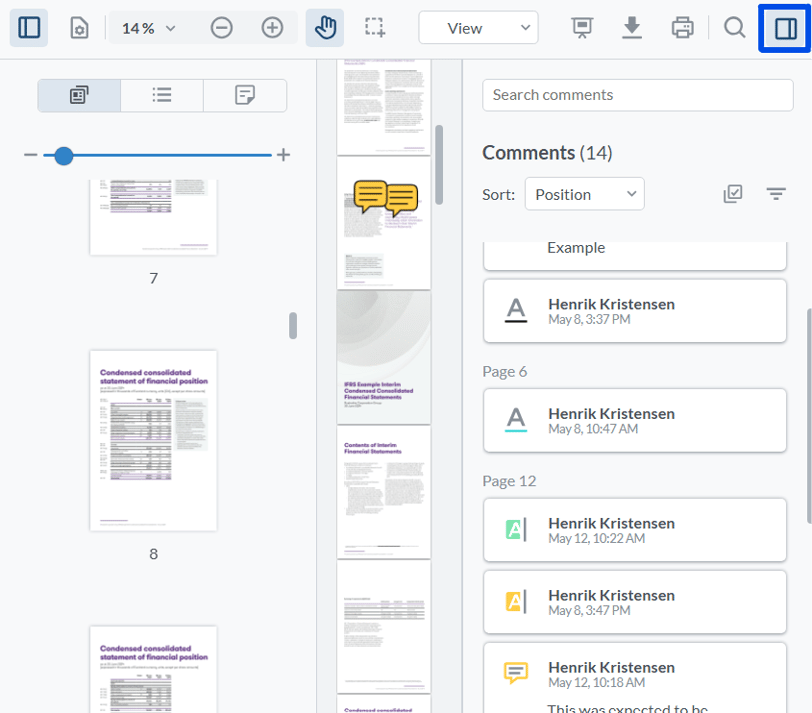
Notebook
The notebook feature enables you to add notes to all document formats. The notes that you create are separated from the document itself and added to an own page which you can choose to print together with the rest of the document. All notes that you create are automatically saved and they will also be available on your tablet/mobile device the next time you perform a synchronization.
How to access the Notebook
To access the Notebook, do the following;
- Open a document.
- Access the document panel in the upper left corner of the document viewer.

- In the document panel, select the Notebook tab.
Printing your annotations and Notebook
If the document that you are working on is enabled for print, you can choose to print your annotations and Notebook.
This is how you do it:
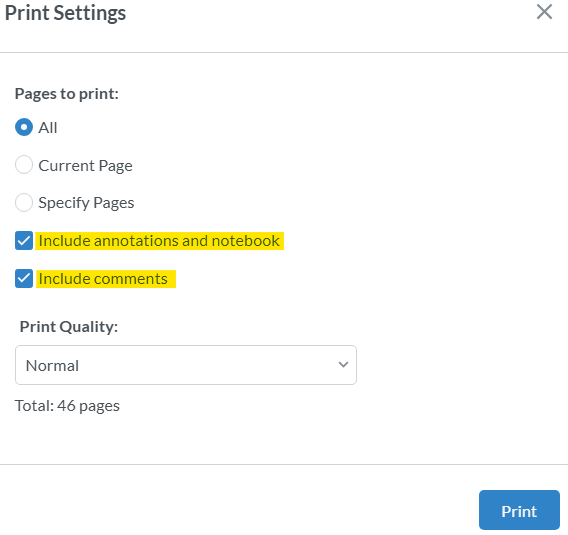
- In the document viewer toolbar, select the print option.

- In the Print Settings dialogue, make sure that both the Include annotations and notebook and Include comments options are selected.
- Press Print.